
Purpose
To give students an opportunity to draw a model that explains condensation.
Description
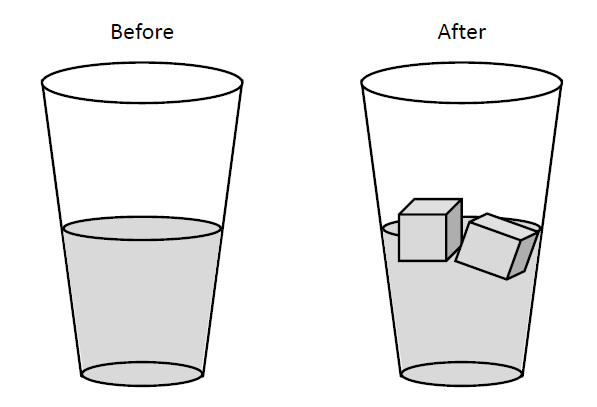
Ask students: If you had super strong glasses, more powerful than the most powerful microscope, what do you think you would see in and around a glass of water before and after ice is added? Have students draw pictures for both before and after in their science notebooks or using this task sheet. [Task instructions for pilot teachers.]
Questions to Ask Students
- Describe your drawings. What does each part represent?
- How do your drawings explain where the water on the outside of the glass comes from?
Student Thinking
Some students’ drawings will represent water as continuous (that is, they will not draw water particles), even in the gas phase (Benson, Wittrock, & Baur, 1993; Nakhleh & Samarapungavan, 1999; Renström, Andersson, & Marton, 1990; Séré, 1986). If students draw particles, look for:
- Size and shape of particles in different states. Some students believe size and shape change as the states change (Aydeniz & Kotowski, 2012; Özmen, 2011; Özmen & Kenan, 2007; Tsai, 1999). For example, some think water particles are bigger in the gas phase than the solid phase.
- Number of particles. Some students believe that the number of particles changes as the states change. (Lee, Eichinger, Anderson, Berkheimer, & Blakeslee, 1993; Osborne & Cosgrove, 1983; Russell et al., 1989; Tytler, 2000). For example, some students believe particles disappear when water evaporates.
Implementation Tips
- Students will likely have inaccurate drawings even after completing Student Experiences 1 and 2. Reviewing their drawings will likely reveal what misconceptions still remain.
- Have students keep their drawings, for example, in their science notebook, to revisit again later (or collect and keep them yourself).